How to photograph plants for identification: find the part that gives it away
For parents of curious 9 to 13-year-olds who keep getting "no idea" from plant photos. You'll learn which parts of a plant to photograph, why they matter, and how the same trick works for mushrooms and minibeasts.
Here's the secret to how to photograph plants for identification: don't photograph the plant, photograph the part that gives it away. A flower, a berry, one leaf turned over, a seed head. This guide shows kids (and the grown-ups walking with them) which parts to look for, why they work, and how the same trick helps with mushrooms and minibeasts.
For getting close, holding steady and using the light, see our 10 nature photography tips for kids. This post is about what to point the camera at.
Why a photo of "a mass of green" doesn't work
Most first plant photos look the same: a bush or a roadside, taken standing up, from a few steps away. It's a lovely memory, and almost impossible to identify.
Look at what's actually in it: dozens of leaves from several plants, all a bit alike, none of them sharp. A person can't tell which plant you meant. Neither can an identification app: it sees leaves that could belong to dozens of possible plants, with nothing to pick between them.
iNaturalist, the big nature-recording website, says so in its guide for teachers: many organisms, especially plants and insects, can't be identified to species from a single photo, and photos of distant trees "will not garner much attention" because they're hard to identify.
Why flowers and fruit give a plant away
Botanists (scientists who study plants) have a good reason for loving flowers and fruit. Leaves are changeable: the same plant can grow big leaves in the shade and small ones in the sun, and plants that aren't related at all can end up with similar plain, green, oval-ish leaves. Flowers, fruit and seeds change much less, so the identification keys botanists use lean on them heavily.
A good example is the dead-nettle. Its leaves look a lot like a stinging nettle's, which fools plenty of grown-ups. Wait until it flowers, though, and there's no contest: dead-nettles have hooded, lipped flowers (white or pinky-purple) in rings up the stem, while stinging nettles have dangly strings of tiny green flowers.
So iNaturalist's advice for plants is simple: it's especially important to photograph flowers or fruit, and photos of flowers or fruit and leaves are the most helpful of all.
What to photograph: a plant checklist
Before pressing the button, ask: what part of this plant would a detective look at? Then take one photo of each giveaway you can find.
| What to photograph | How to take it | What it tells you |
|---|---|---|
| The flower | Straight on, then from the side | Color, number and shape of petals, what's in the middle |
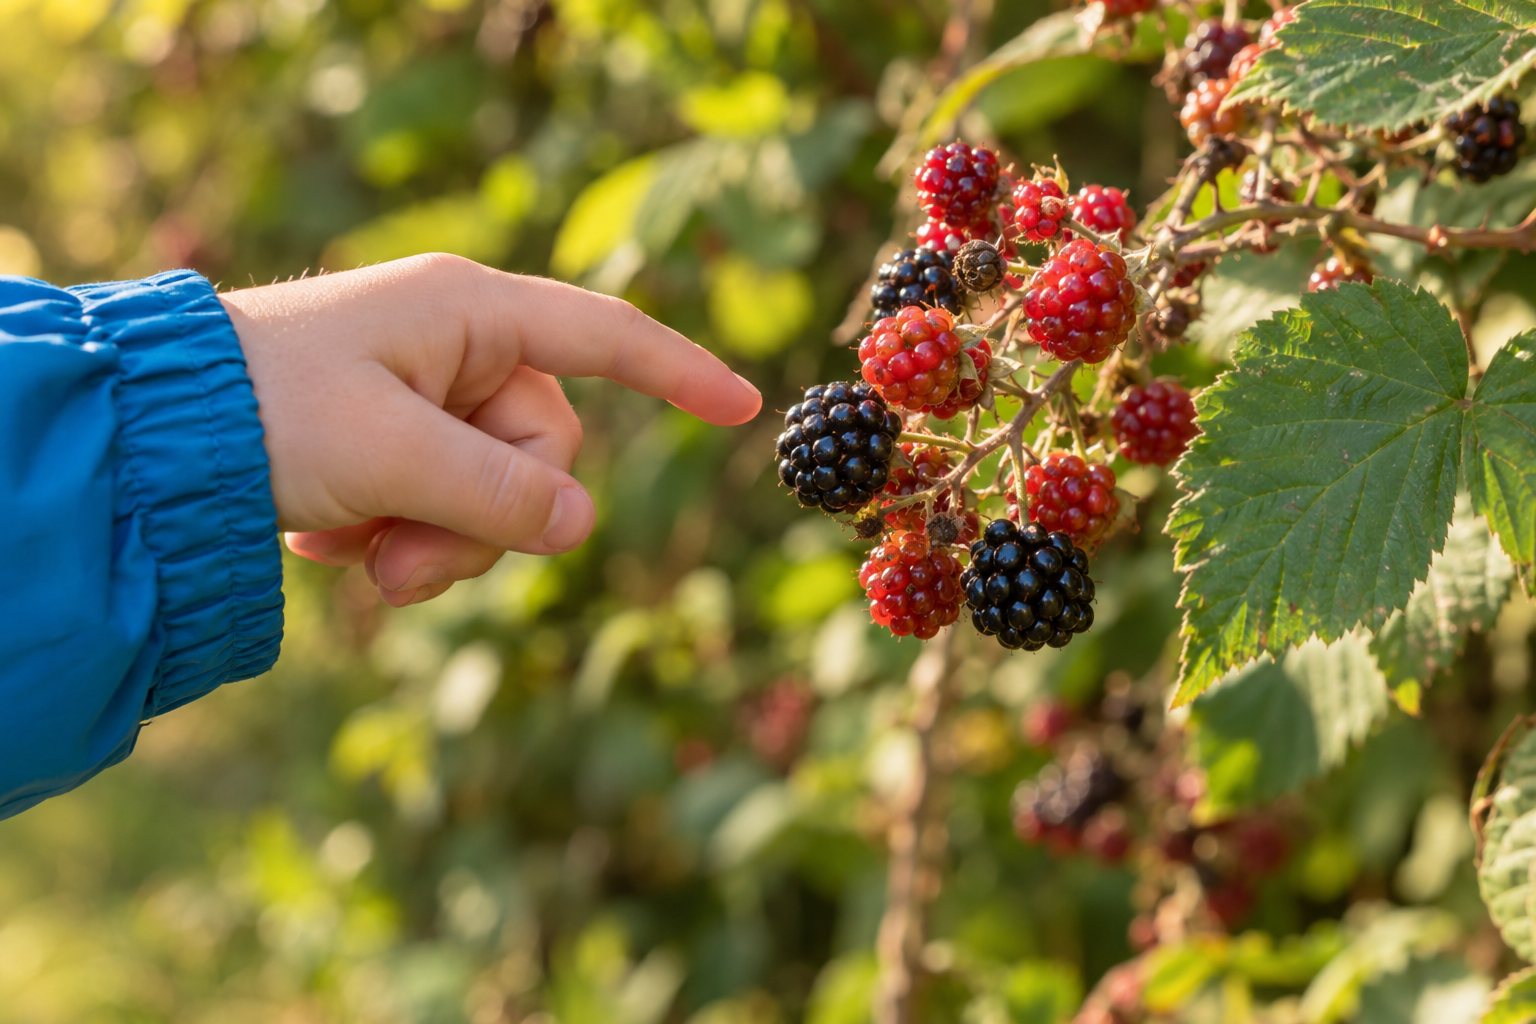
| Fruit, berries or nuts | Close, so they fill the screen | Often the single best clue, especially in the fall |
| A seed head | Against the sky or a plain background | Fluffy, winged, spiky or in a pod? |
| One leaf, top side | Just one, with its whole edge in the picture | Shape, edge (smooth, toothed, wavy), how it splits |
| The same leaf, underneath | Turn it gently; no need to pick it | Hairs and color underneath can be the clue |
| Where leaves join the stem | Close-up of a bit of stem | Are the leaves in pairs (opposite) or taking turns (alternate)? |
| The stem | Close, from the side | Square or round, hairy or prickly? Mint-family plants, dead-nettles included, usually have square stems. |
| The bark (trees and shrubs) | Fill the screen with a patch of trunk | Smooth, peeling, cracked or ridged patterns |
| The whole plant | Step back, with something for size | How tall, how it grows, where it lives |
For trees, the leaf clues get a whole post of their own: how to identify trees by their leaves.
How to take each shot
- One subject per photo. Fill the screen with the part you chose, not the whole bush.
- Put your hand behind it. If the camera keeps focusing on the background, hold your hand just behind a flower or leaf (without touching it) and let the camera focus on your fingers. iNaturalist says a sharp photo with fingers in it is more useful than a blurry one without.
- Lead with your clearest shot. iNaturalist's computer vision makes its suggestions from one photo, the first one, so put the sharpest close-up first.
- Two or three photos beat one. There's no set number: take as many as it takes to show the parts that matter.
- Add something for size. A fingertip, a coin or a pencil beside the plant, not on it.
- Leave it growing. You don't need to pick a leaf to photograph it, and in parks and preserves picking is usually against the rules.
Safety: look, don't taste, even if it looks like a blackberry. And keep hands off anything that stings or burns: nettles, poison ivy and poison oak ("leaves of three, let it be"). Turn leaves with a stick if you're not sure.
No flowers? Look for fruit, seeds and bark
By fall most flowers are over, but fruit is everywhere, and it's one of the best clues there is. With no flowers or berries at all, iNaturalist Canada's guide points to leaves, and says branch and bark patterns help narrow a plant down too.
Giveaways to hunt for right now:
- Blackberries, from red to black on the same stem.
- Rose hips, glossy red on wild roses.
- Acorns, with the cap still on (the cap's pattern is a clue).
- Crab apples, small, hard and often red or yellow, under the trees in the fall.
- Milkweed pods, splitting open to let out silky seeds.
- Goldenrod, in yellow plumes along the trail edge.
The same trick for mushrooms
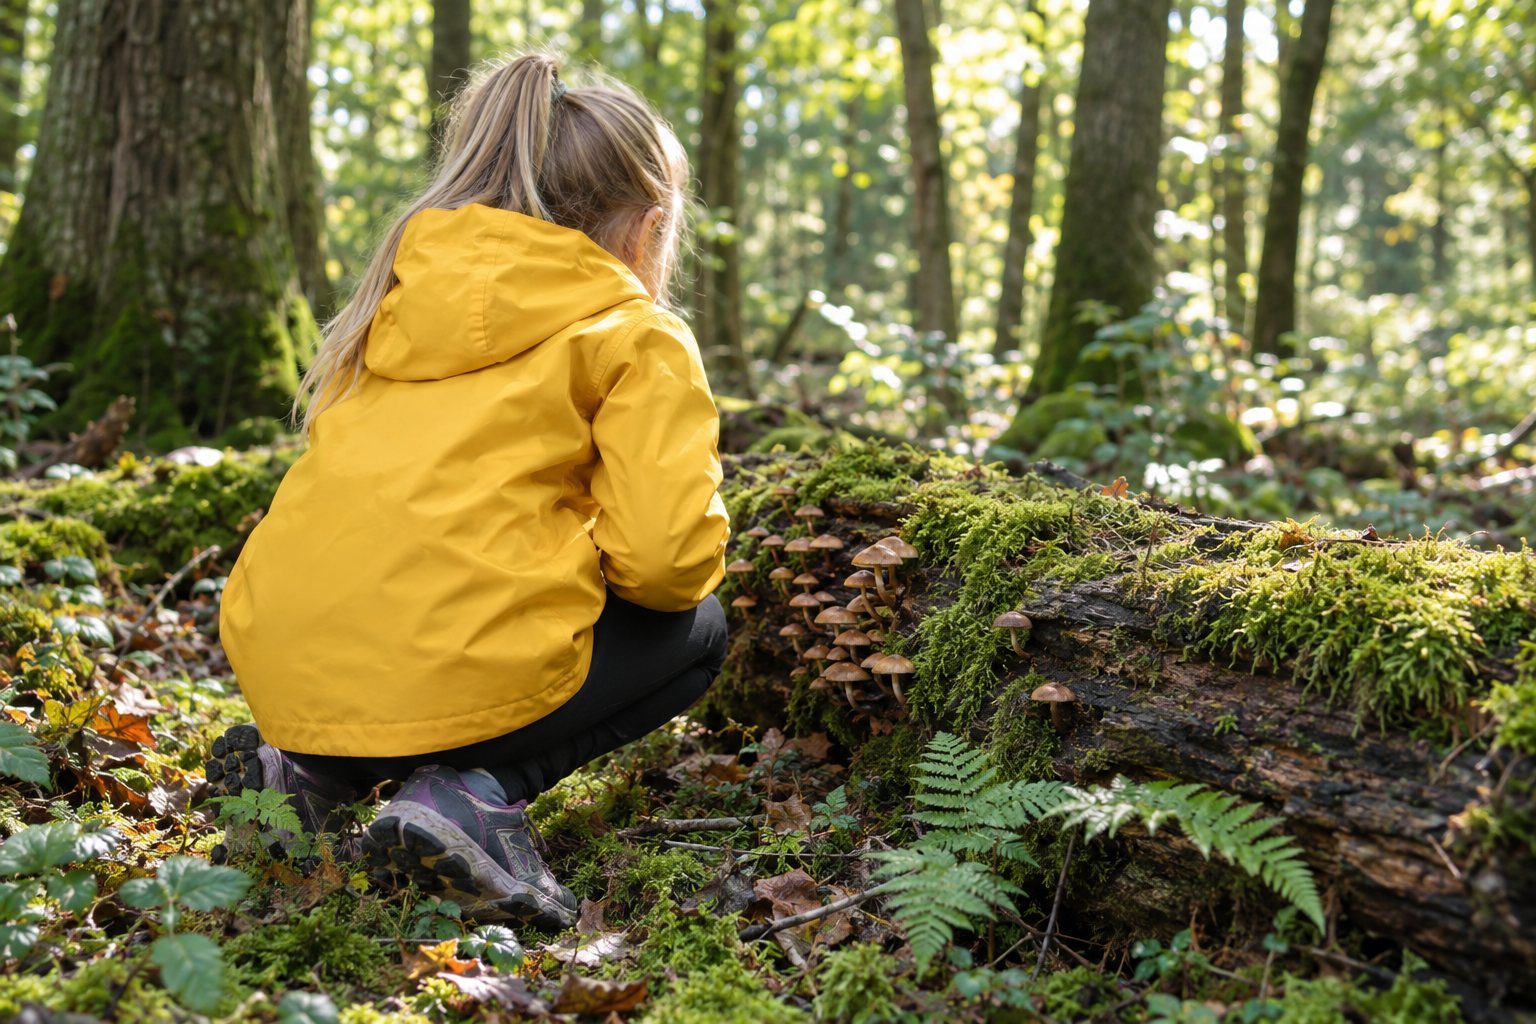
Mushrooms have giveaway parts too, and one of the most important is hidden underneath, so iNaturalist's smartphone guide covers how to photograph it without pulling the mushroom up.
- The cap from above: color, shape, spots or scales.
- Underneath: gills (thin blades), pores (tiny holes, like a sponge) or teeth. Get low: turning a phone upside down puts its lens nearer the ground.
- The stem from the side: is there a ring or a skirt?
- Where it's growing: on wood, on soil, or under a particular tree?
The rule that matters most: photograph only. Never pick or touch a wild mushroom unless an adult who really knows mushrooms is with you, and never taste one. Our guide to mushroom hunting with kids has the full safety rules.
The same trick for minibeasts
With minibeasts, the giveaway is usually the whole animal, sharp:
- From above, to show the pattern on its back or wings.
- From the side, to show legs, body shape and antennae.
- The markings close up: spots, stripes, bands, hairs.
Don't pick them up for a better shot, and keep your distance from anything that might sting or bite. More in our bug hunt guide.
How Scout uses a good close-up
We're building Scout, a nature camera for kids aged 9 to 13, shaped like an explorer's magnifying glass and worked with one thumb, launching on Kickstarter in spring 2027, and it's built around this very habit. On the walk, when a child points Scout at something, the guide may suggest holding steady and bringing it close so it fills the circle (for now this runs in our testing app on a phone). Back home, when a photo is unclear, the careful model on our servers looks again at close-up sections of the picture by itself, to find the subject in a busy scene. Several photos of the same find, taken a few minutes apart, are weighed together as more evidence, so a flower, a leaf and a berry really do help. And when it still isn't sure, it names a group, like "a wild rose" or "the daisy family", rather than guess a species, and a find it can't name stays a Mystery, waiting for a better photo.
Find the giveaway
Next time you're out, make it a game: before anyone takes a photo, they say which part gives the plant away ("the berries!", "the underneath of the leaf!"), then photograph that part and one more. In a few walks it becomes a habit, and looking closely is exactly how naturalists are made.
Sources
- iNaturalist, iNaturalist Educator's Guide
- iNaturalist, Smartphone Photography for iNaturalist (August 2026)
- iNaturalist Canada and the Canadian Wildlife Federation, How to Take Identifiable Photos
- Abisko Fingerprints of Change project on iNaturalist, Getting great plant photos for identification in iNaturalist
- Kwantlen Polytechnic University, Plant Morphology – Flowers and Fruit (Red Seal Landscape Horticulturist: Identify Plants and Plant Requirements)