10 nature photography tips for kids (that also help you identify what you found)
For parents of 9 to 13 year olds with a phone or camera and a growing interest in wildlife. You'll get ten practical tips for sharper, closer photos, plus how to take pictures that make identification easier.
These nature photography tips for kids are the ones that make the biggest difference, fastest. You don't need an expensive camera: a phone, a tablet or a simple camera will do. What matters is how you use it.
They're written for 9 to 13 year olds (and the grown-ups walking with them). Along the way you'll also learn how to take photos that help you identify what you found, which is half the fun.
1. Get close and fill the frame
The most common problem in nature photos is that the subject is a tiny dot in the middle of a big picture. Move closer until the thing you care about fills most of the screen.
Walk closer rather than zooming in if you can do it safely. On most phones, zooming in a lot makes the picture grainy and blurry. If you can't get closer without disturbing an animal or leaving the path, take the photo from where you are and enjoy watching instead.
2. Hold the camera steady
Blur is usually shake, not a bad camera. To keep still:
- hold the phone or camera with two hands
- tuck your elbows into your sides
- lean against a tree, a fence or a wall
- breathe out slowly and press the button gently, don't jab it
For really close shots, rest your hands or the camera on the ground, a rock or your knee.
3. Tap to focus on the important bit
On most phones you can tap the screen to choose what's sharp. Tap the animal's eye, the middle of the flower or the edge of the mushroom cap. For animals, a sharp eye makes the whole photo feel alive, even if other parts are soft.
4. Use the light, and watch your shadow
A simple rule for beginners: keep the sun behind you so it shines onto your subject. The colors come out brighter and the details clearer.
Two things to watch for:
- Your shadow. With the sun behind you, it's easy to cast a shadow right over the bug you're photographing, and a sudden shadow often makes insects fly off. Move round to the side a little.
- Cloudy days are great. Soft, cloudy light is perfect for flowers, fungi and leaves, with no harsh shadows. Don't wait for sunshine.
5. Get down to their level
Most kids (and adults) take photos standing up, looking down. Try crouching, kneeling or even lying down so the camera is at the same height as your subject. A snail photographed from its own level looks like a creature in its world. The same snail from above looks like a snack on a path.
6. Keep the background simple
A busy background of twigs and leaves makes it hard to see what the photo is about. Before you press the button, look behind your subject. Take a step to the side or change your angle so there's plain sky, a smooth patch of grass or a dark shadow behind it.
7. Be patient with insects
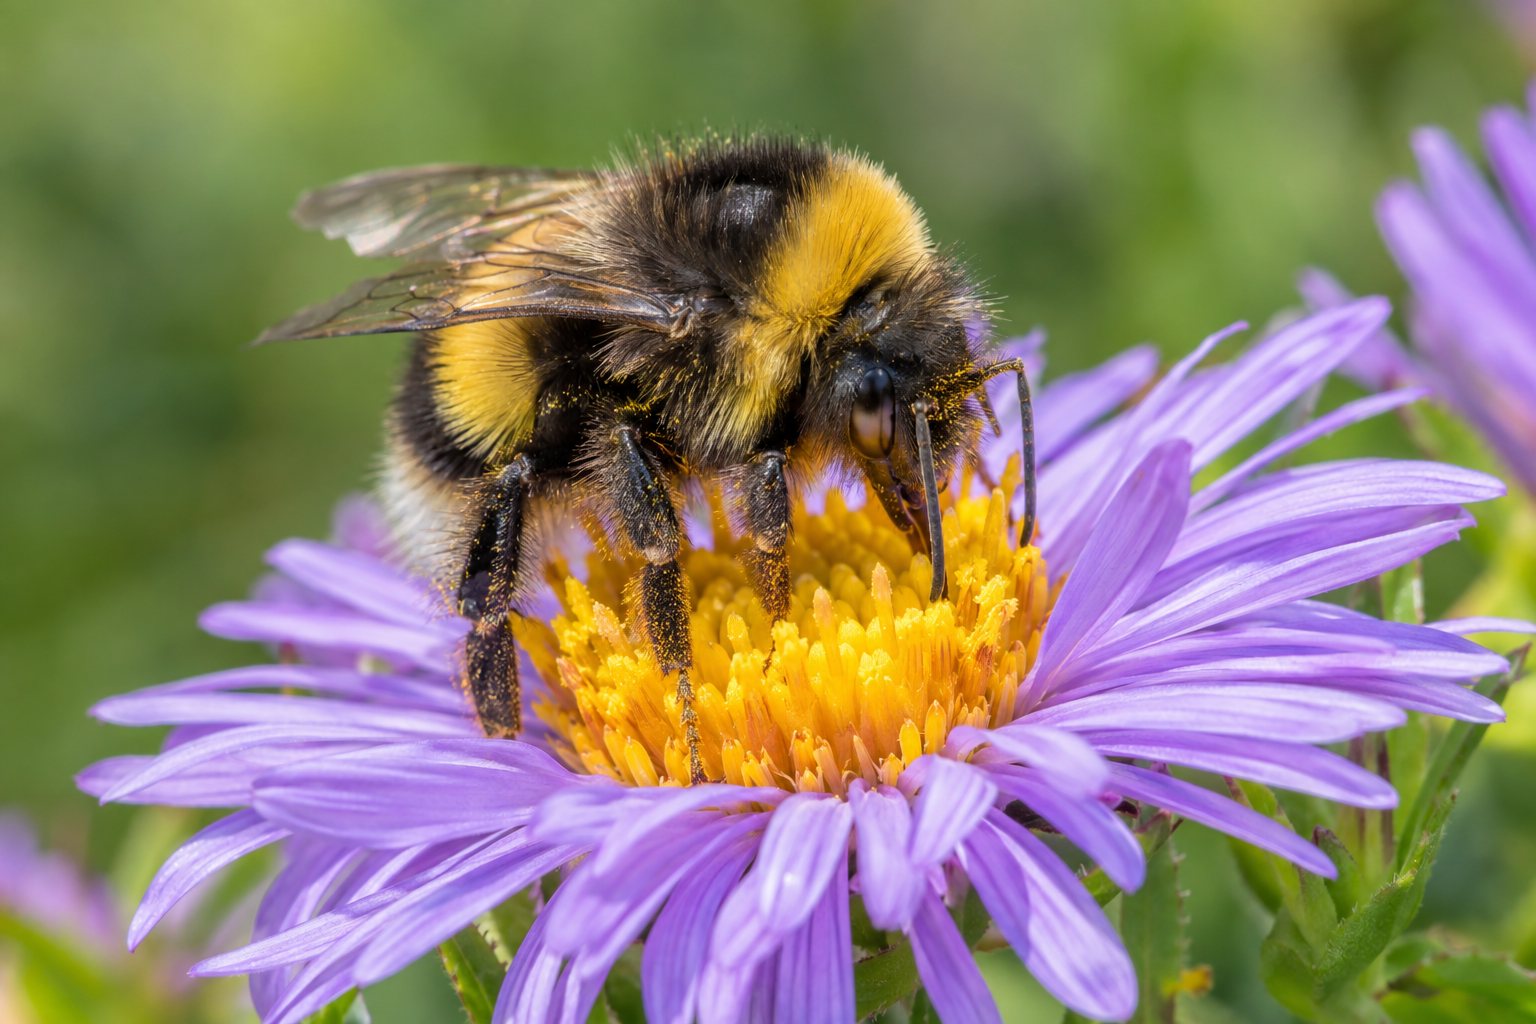
Butterflies, bees and hoverflies rarely sit still for long. A few tricks help:
- Go early. On cool mornings, insects move more slowly until they've warmed up.
- Wait at the flower. Pick a flower that's busy with visitors, get your camera ready and wait for them to come to you, instead of chasing.
- Move slowly. Sudden movements scare them away. Creep in a little at a time.
- Take lots. Insects move, so take several photos quickly and keep the best one.
Keep a safe distance from bees and wasps, and never try to touch them for a better shot.
8. Take several photos from different angles
One photo is a guess. Three or four are a record. Photograph your find from the side, from above and from the front. For identification, different angles often show the one detail that matters, like the markings on a beetle's back or the shape of a bird's tail.
9. Take photos that help you identify it
This is where nature photography turns into real science. Naturalists (people who study nature) and wildlife recording websites such as iNaturalist ask for several photos showing different features. Here's what to aim for:
| What you found | Photos that help most |
|---|---|
| A plant or wildflower | The whole plant, a close-up of a leaf (top and underneath), the flower, and any fruit or seeds |
| A tree | The overall shape, the bark, a leaf, and any fruit, nuts or seeds |
| An insect or spider | The top and the side, plus any bright markings |
| A bird | As clear a side view as you can get, plus the head and tail if possible |
| A mushroom or toadstool | The top of the cap, the side, and the stem, taken from low down without touching it |
Also note where and when you took it. Many living things look alike but live in different places or appear at different times of year, so the date and place are real clues.
10. Include something for scale
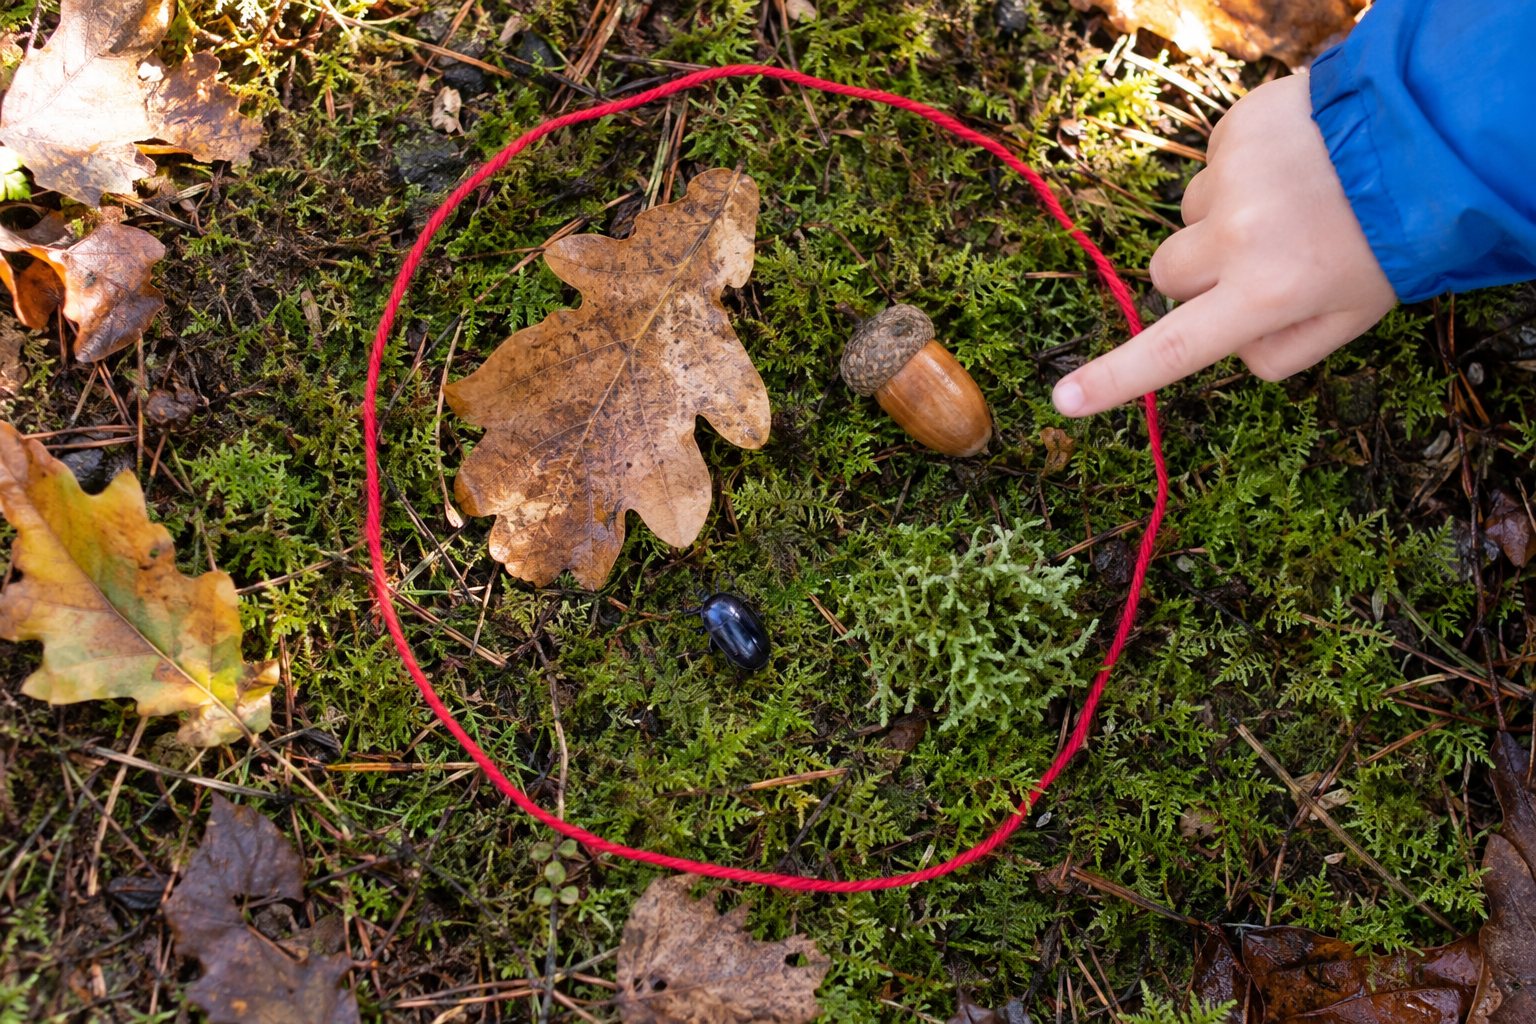
Size is a clue too. A photo of a fungus doesn't tell you whether it's the size of a pea or a dinner plate. Put something of known size beside it, like a coin, a pencil or a small ruler. Place it next to your subject, not on it. A fingertip nearby works for things you can safely get close to, but never put your hand near bees, wasps or anything that might sting or bite.
The most important rule: don't disturb wildlife
Good nature photographers care more about the animal than the picture. Both the UK's Nature Photographers' Code of Practice and Audubon's guide for bird photographers say the same thing: the welfare of the subject comes first.
For kids, that means:
- If an animal changes what it's doing because of you (it stops feeding, stares at you, or moves away), you're too close. Back off.
- Never go near nests, and never move leaves or branches to get a better view of one.
- Don't chase, poke or pick up animals to get a shot.
- Put back any log or stone you lift, gently, exactly as it was.
- Stay on paths in parks and preserves, and keep off plants that could be trampled.
- Never touch or taste wild fungi or berries, even while photographing them.
Bringing your photos home
The best part comes later. Look through your photos together, pick the best three from each walk, and try to identify anything new with a field guide. Print the favorites for a nature journal, or make a "best of the month" album.
We're building Scout, a nature camera for kids aged 9 to 13, shaped like an explorer's magnifying glass and worked with one thumb, launching on Kickstarter in spring 2027. When a child points it at something alive, their guide names it right there on the walk, using Scout's own AI chip, and it would rather say "I'm not sure" than tell them something wrong, which is one more reason a close, clear photo pays off.
Whatever you're using, the tips are the same: get close, get low, hold still and be kind to the thing you're photographing. Happy snapping.
Sources
- iNaturalist, Smartphone Photography for iNaturalist
- iNaturalist, Tips for taking photographs (important for plants!)
- The Royal Photographic Society Nature Group, The Nature Photographers' Code of Practice
- National Audubon Society, Audubon's Guide to Ethical Bird Photography and Videography